Creating, signing, and updating patient charts
Overview
This guide covers the core actions you’ll use when working with patient charts in Embodia - creating, updating, duplicating, and signing entries.
Together, these form your day-to-day charting workflow and help you keep documentation accurate, consistent, and up to date.
Embodia’s AI Charting tool is covered separately in the guide: Populating a chart entry using Artificial Intelligence.
Starting a new patient chart
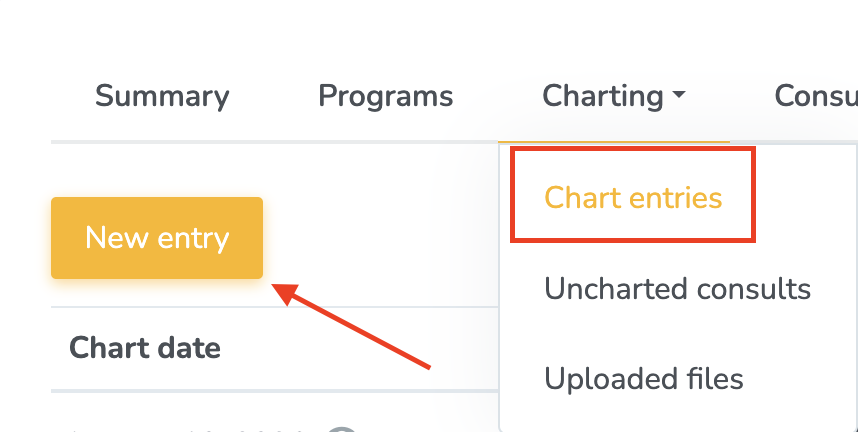
To start a new charting entry for a patient, you can visit their profile and then click on Charting > Chart entries > New Entry:
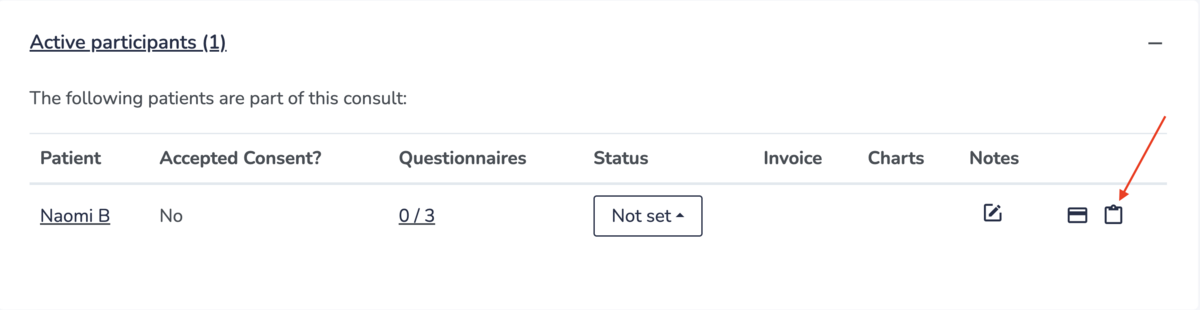
You can also start a chart entry from the consult page by clicking on the Chart icon in the Active Participants section:
Then fill out the form with:
- The chart date
- An optional name for the chart entry
- The template you want to use as a starting point for this entry
- The visibility of the entry
- Check that the consent has been obtained from the patient
- For multi-practitioners clinic, you can also allow your colleagues to add to this chart entry
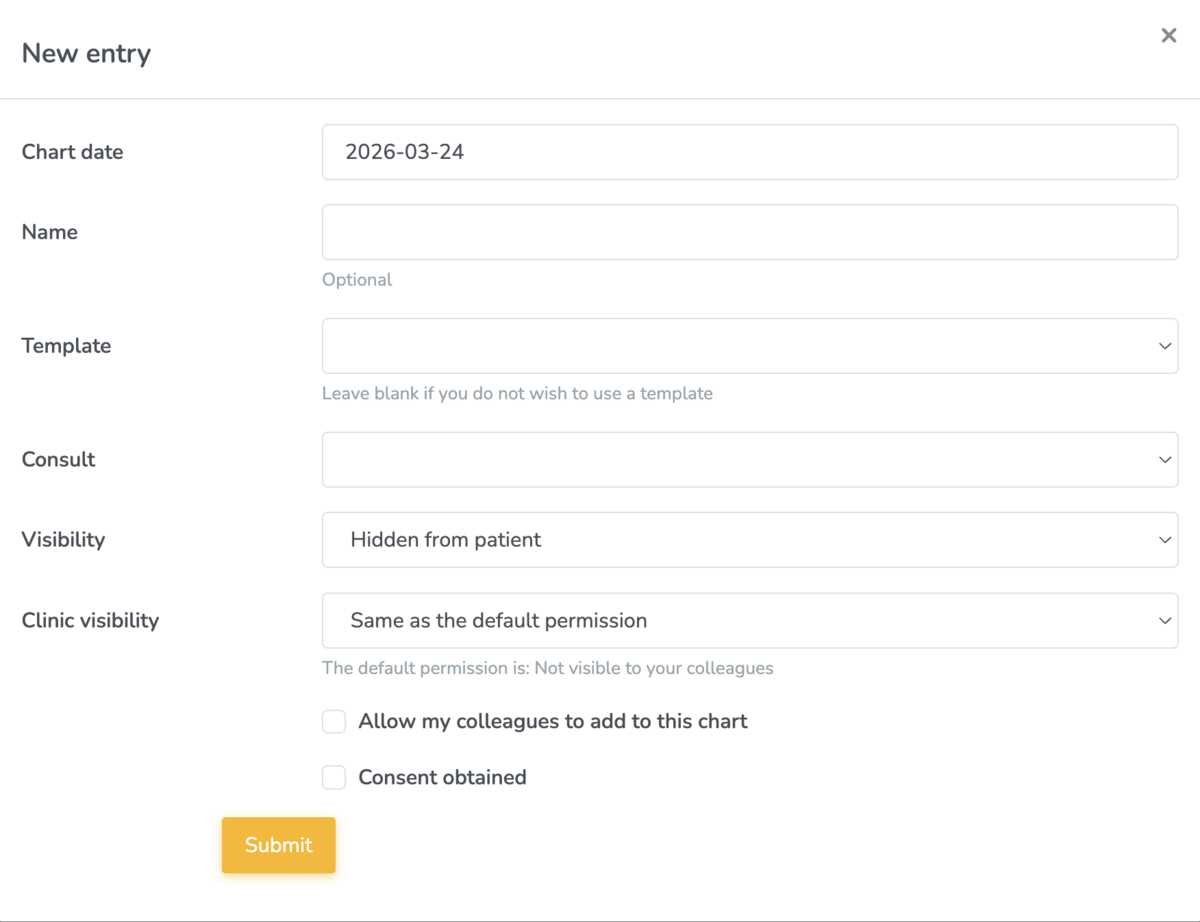
Chart Entry Visibility
If you choose to make a chart entry visible to the patient, you can still hide individual chart items within that entry.
For a patient to view a chart entry:
- The chart entry must be signed
- The patient must log in through your clinic’s unique URL. You can find more information in the setting a subdomain guide.
Collaborating on a Chart Entry
If you allow colleagues to contribute to a chart entry, they can add new chart items as long as they are connected to the patient.
To maintain clear authorship:
- Colleagues can only edit chart items they’ve added
- You can only edit chart items you’ve added
Completing your chart entry
You will now be on the chart entry page, where you can begin documenting.
At the top of the page, the Info section is automatically populated with key details such as the patient’s name, associated consult, and practitioner.
Below this, you’ll see your chart template (if one was selected when starting the chart). You can complete each chart item within the template - for example, entering and formatting text in an open field.
To work more efficiently:
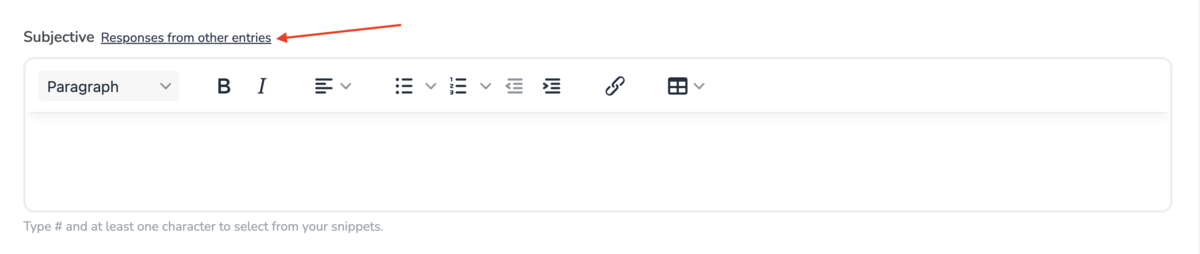
- Snippets allow you to quickly insert commonly used text
- Responses from other entries lets you view previous responses for this item for the same patient
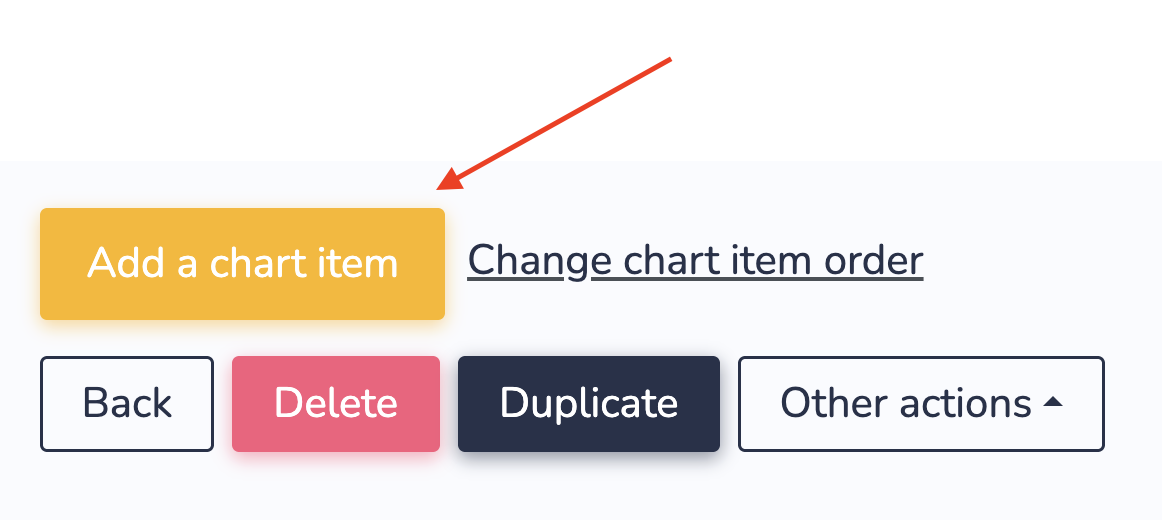
Add additional chart items
You can also add additional chart items by scrolling to the bottom of the entry and clicking Add a chart item:
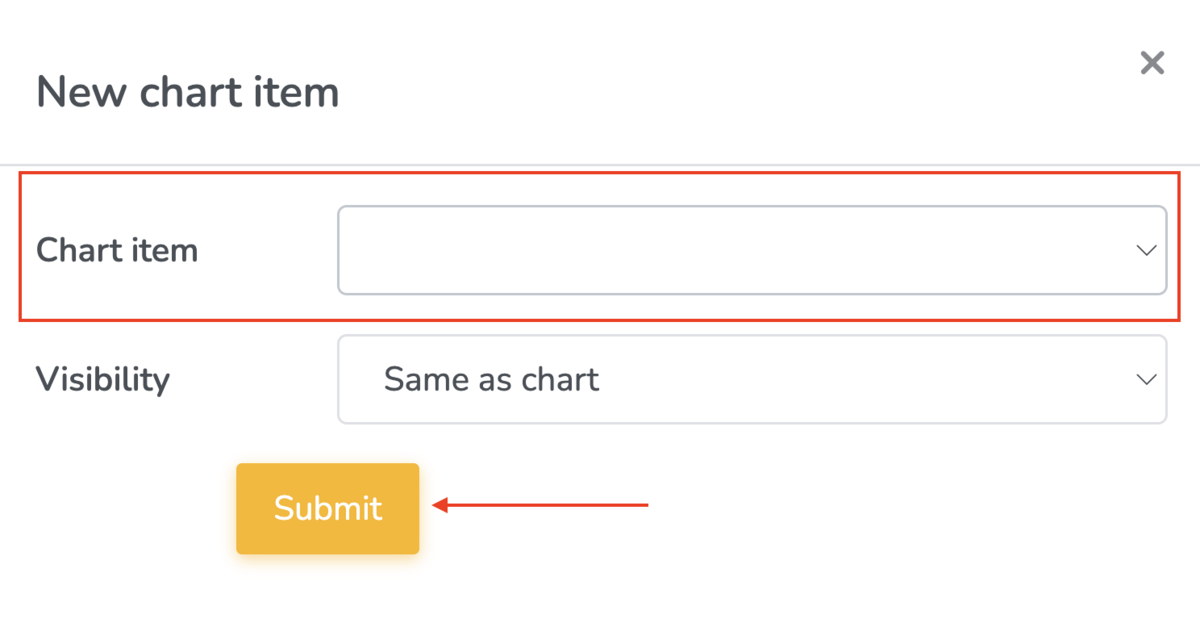
Select the chart item you want to add and its visibility and click on Submit:
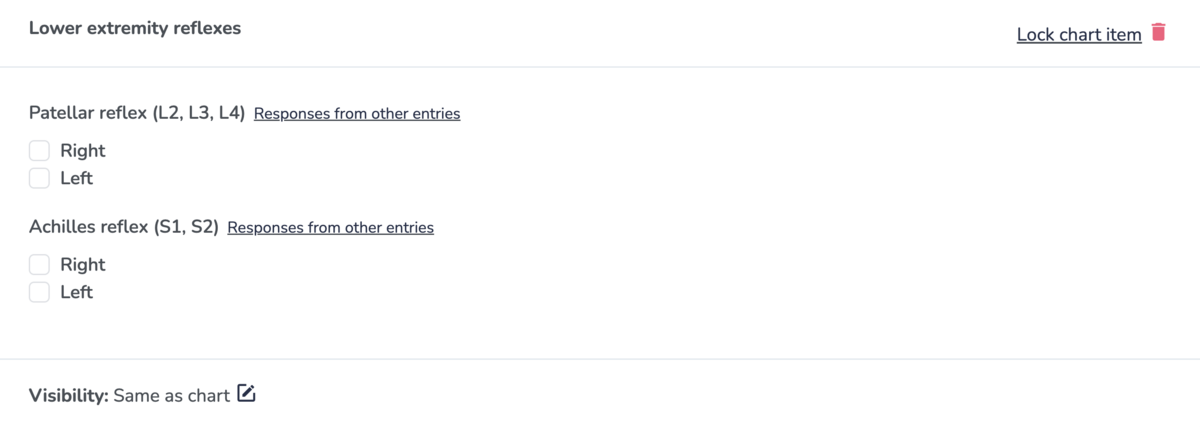
This will add the chart item to the chart entry where you will be able to fill it out:
Signing the patient chart
When you start a new chart entry, it will be in draft mode. The entry will not be visible to your patient even if you set its visibility to "Visible to patient".
When you have added and completed all the chart items to your chart entry, you can Sign it. Signing a chart entry have the following effects:
- It will delete all the chart items in the chart entry that have not been completed;
- It will prevent you from making any modifications to the chart entry;
- You can still revert the chart back to draft mode if the clinic has specified a reversal deadline. Learn more about chart settings and adding a reversal deadline here.
To sign the chart entry, from the chart entry page, simply click on the Sign button:

This will prompt you for a confirmation. Once accepted, the chart entry will be marked as signed.
If the chart entry was signed and the reversal deadline has not passed, you can revert it back to draft mode by clicking on the Revert to draft link.

Duplicate an existing chart
If you regularly document similar visits, you can duplicate an existing chart entry and use it as your starting point.
Duplicating a chart allows you to:
- Carry forward structure and relevant content
- Update only what has changed
- Maintain consistency across visits
- Save time on repeated documentation
To duplicate a chart, go to any chart entry (draft or finalized) and scroll to the bottom. Click on the Duplicate button.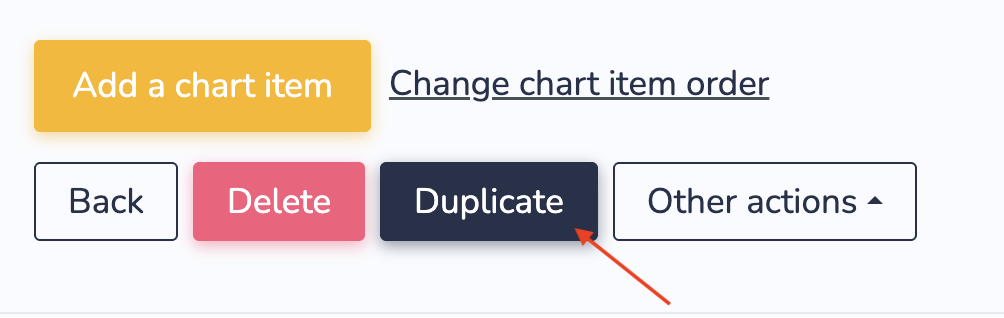
Adding an addendum to a signed chart
Once a chart entry has been signed and can no longer be reverted to draft, you can add an addendum to it.
To add an addendum, scroll to the bottom of the chart entry and click on Add addendum.

Fill out the form with your notes and choose the visibility of the addendum:

Please note that the addenda can only be edited or deleted within 5 minutes after adding it.